

I’ve been wanting to hike from Lolo Pass to Cascade Locks for a while. So as the weather looked like it was going to be semi-decent, I decided this weekend (June 19th / 20th) would be a good Father’s Day present to myself. In addition to just giving you a trip report, I’ll take you through the steps I go through when planning and executing a short backpacking trip and let you know about some of the gear I take with me.
Trip
We started this trip at about 3 pm on Friday afternoon. The weather was good with a temperature in the mid-70s. There is a curious green flexible pipe weaving its way all the way up to the pass – with an occasional sign that read “Rural High-Speed Internet – no copper inside”. Is this a fiber optical cable going somewhere?
Lolo Pass to Salvation Springs

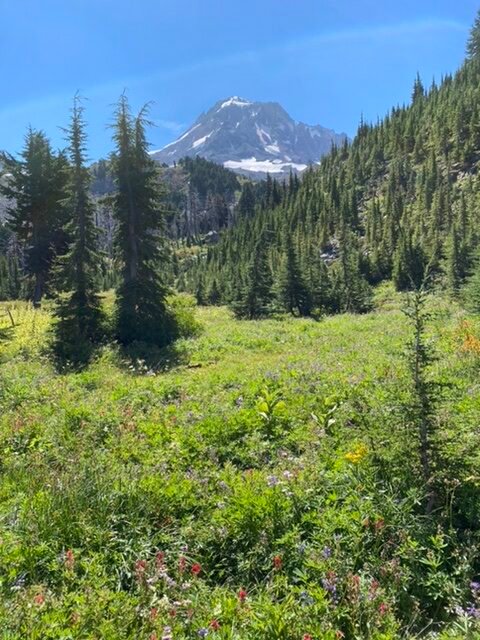
The first 8 miles are gently uphill, rising about 1000′ over 8 miles. There are peek-a-boo views of Mount Hood, Lost Lake, and Mount Adams in the distance. The trail is in really good condition, with relatively few blowdowns and none of them being difficult to navigate around. Unfortunately, all you really get to see of Bull Run Lake are signs that indicate everything to the west of the trail is out of bounds, just a very occasional glimpse of the shoreline.
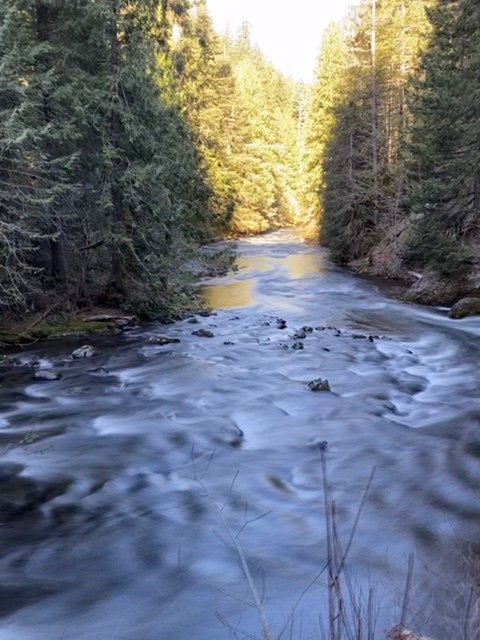
The trail follows a ridgeline for quite a long while in this section, it might not be at the peak, but pretty close. One of the consequences of this is it can be a little trickier to find streams, so we decided to refill at Salvation Springs, at about mile 5. Plenty of water.
“They’ll be fresh blood tonight” – said the Lord of the Mosquitoes. And so as soon as the snow melts you can expect the mosquitoes to be flying and they were. Not too bad, and mainly located close to the water sources, but definitely out biting.
Salvation Springs to Indian Springs
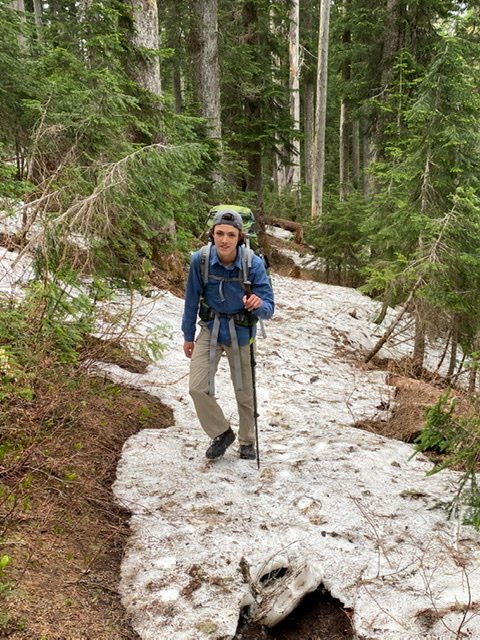
The trail from Salvation Springs for the next few miles was dotted with snow. Not much of a navigation challenge, although there were a few sections where the snow was banked across the entire trail. Regardless of potential hazards, Hunter seems to love diving into the snow and rolling on his back – oh well. We had planned on hiking to around mile 8 and then camping and there were a couple of very nice campsites. But we were feeling good and there was plenty of daylight left, being almost the summer solstice.
So we pushed on. A lot of this section fits the bill of Oregon being a ‘long green tunnel’, however, at about mile 12, the trail breaks out of the trees and opens up, until taking a hard right and descending into Indian Springs. You can add Mt. St. Helens to the list of peaks you can see.
Indian Springs to Wahtum Lake
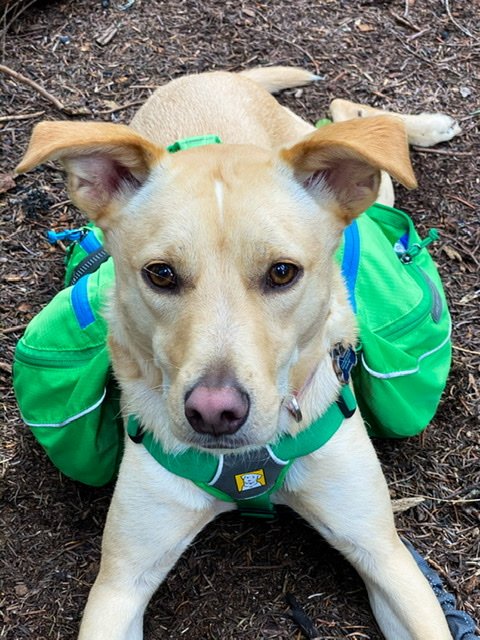
We spent the night at Indian Springs. This is an abandoned campsite but is in reasonable shape with 7 or so good campsites, tables at a few of them, and an outhouse (not sure the state of it). Plenty of water from the multiple rivers and India Springs itself. There’s a pretty rough forest service road (660) that might get you out here and it looked like there had been some campers out that far, but it doesn’t look like a commonly used spot. We set up camp and ate dinner under headlamps. Hunter loves being outside, you can find some more tips about hiking with dogs here.
A little overnight rain had dried by the morning and after filtering more water, and watching Hunter run at high speed in circles, we set off. The warmer, sunny weather of the previous day had given way to overcast skies and light drizzle. That drizzle would stay for the rest of the day, sometimes changing to rain, but always there.
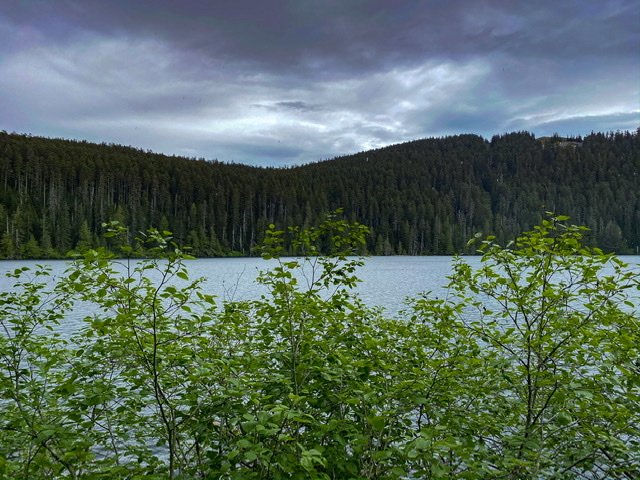
Wahtum Lake is just a few short miles from Indian Springs. The rain had set in. Even so, there were several campers around the lake and the smell of breakfast fires wafted through the air. The trail is basically flat to Wahtum lake, even if a little muddy.
Wahtum Lake to Benson Way
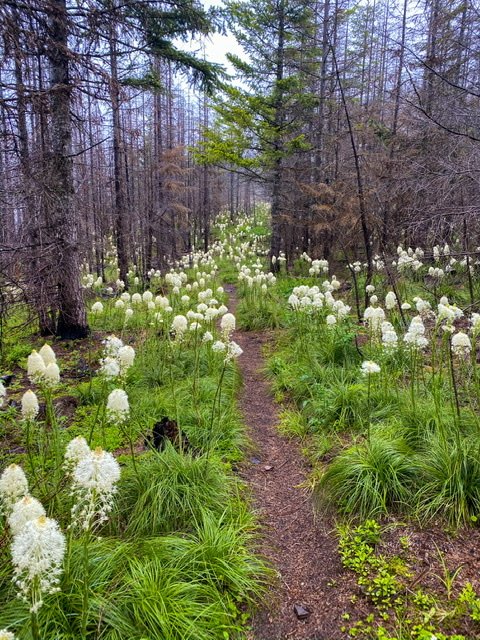
The trail slowly climbs out of Whatum Lake. The trees provided a good amount of protection from the light rain. However, suddenly the landscape changed as we entered into the Eagle Creek burn area. The green is gone and tall, burnt stumps are all that remain. You can still smell the charcoal. With the clouds around it definitely had a spooky feel to it. It’s not devoid of vegetation, there is already new growth, some of which has an eerie Dr. Seuss feel to it.
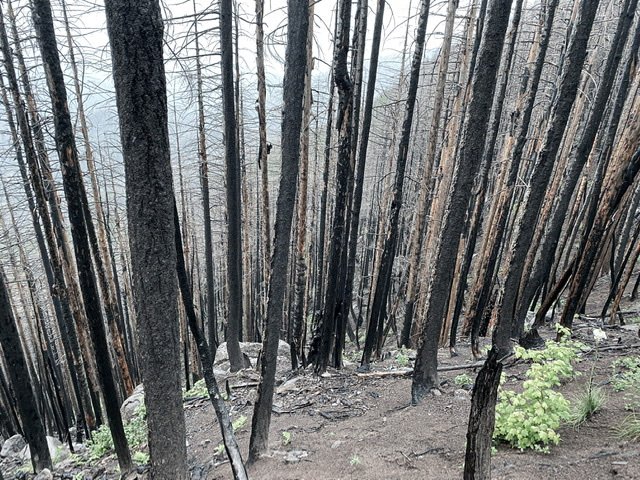
We weaved in and out of the burn area for a few miles. Even though the trail is in excellent condition, through the burn area there are more loose rocks to contend with. Starting at about West Benson Way, we left the burn area and entered into a back into a long covered stretch, relatively flat and abundant in young bright green growth. There are several good campsites in this area. We would have camped here – however, given the rain and that it was still early in the day, we decided to push on to Cascade Locks. Luckily there was intermittent cell coverage so I could give my wife a heads up!
Benson Way to Cascade Locks
At about the junction with West Benson Way, the trail starts its long descent into the Columbia River Gorge. This is about a 4000′ foot descent over 6 miles. We all found this tiring, going down is about as going uphill at times, especially at the end of a long day. However, we did get our first views of the majestic Columbia River and Cascade Locks. The final 3 miles took us back from the Herman Creek trail, across Dry Creek, under I-84, and right to the Bridge of the Gods. We arrived there at about 4.30 pm, tired legs, yes – but a great way to spends Father’s Day weekend.
Statistics

Day 1 -statistics 
Day 2 – statistics


Trip Planning
Usually, when a start planning a trip I’ll start by finding the route I’m interested in. My favorite app for this is the Hiking Project. I find this pretty much has most of the trails on, is available on all my devices, and has useful information on camping sites, water, etc. From the overview on Hiking Project, I can already see a few important details. The actual trail selected is the PCT from highway 35 to Cascade Locks. I wanted to only hike from Lolo Pass, which is about at mile 22.5 to Cascade Locks, about 31-32 miles. I planned this for 2 nights and 3 days.
Because this is not a loop (obviously!) I’d need some logistical support to get to and from the trailheads. In this case, that was easy – with a very supportive wife. Also from the profile, I can see that it’s a pretty flat hike, save the last 8 miles that drop quickly through the Columbia Gorge. If you zoom in on the map on Hiking Project you’ll get to see potential campsite locations and water sites. Usually, this time of year water is not a big issue around Mount Hood, this is good as it limits the amount of water you have to carry,
For this trip Keenan (youngest son), a good friend John and ever-loyal Hunter were up for the hike. Truth be told, no one knows if Hunter is ever up for hiking, but I guess he is as his tail always seems to be full of wagging energy.

Weather is the next main concern and often governs whether to go at all. Friday looked good, and the weekend was forecast with a 40% chance of rain, but the temperatures were pretty reasonable. Incidentally, a 40% chance of rain – just means that the chance of it raining somewhere in the forecast area, so some days that means you wouldn’t see anywhere you are, and sometimes it might rain all day and both would be correct.
So now I have the basic outline of the trip in place. I know who is going, that the weather will be ok, and had had a rough plan. 8 miles the first day, to somewhere like the campsite just short of Blue Lake, then something like 12 miles the next day to somewhere in between Eagle Benson Trail and West Benson Way. The final day should be another 10 or so miles, down into Cascade Locks.
Once I’ve got this far I’m pretty committed and will get down into the detailed planning. I’ll cover these in two separate sections, one about Food and the other about Navigation.
Gear
There is hardly a hike that I go on where I am not testing out some piece of equipment or shaking down some aspect of the existing kit. This really helps to get to know what’s in your pack really well and be able to decide what to bring for what conditions.
I’ve been complaining about my pillow for some time. I was currently on my second backpacking pillow which was a small inflatable REI Flash Pillow, but never really got a good night’s sleep out of it. I think the main problem is that it’s small and slips around a little too much. Keenan surprised me on the day of this trip by giving me an early Father’s Day present of a Trekology Pillow. I have to say this is a big improvement. I think it’s probably because I can secure it to the sleeping pad. They are both about the same weight at 3oz (actually the Trekology pillow is 2.8oz). I’ll definitely be taking this on my Sierra hike later in the summer.
Viewranger Data
You can find this hike and download the route here.
Here’s the 3D Flyover of this route.
